EN
EN  DE
DE  RU
RU  PT
PT  JA
JA  ES
ES  IT
IT 
You’ve made a strategic decision. After analyzing the recurring costs and hidden risks of your old safety measures, you’ve chosen to invest in a modern, self-recovering flexible barrier system. It’s a smart move that will pay dividends for years to come. But a successful outcome depends on more than just choosing the right product. A well-planned deployment is critical to unlocking the full value of your investment.
Here is a 5-step guide to ensure your deployment is smooth, effective, and sets the stage for long-term success.
Step 1: Strategic Selection Based on Risk
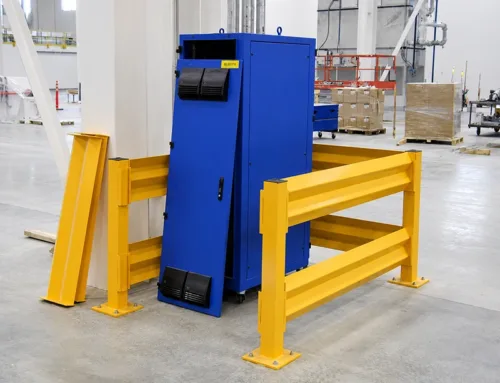
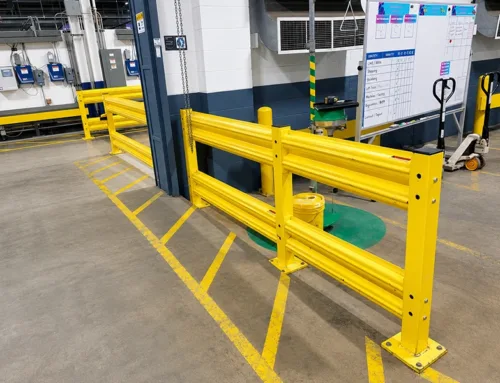
The most critical step happens before a single hole is drilled. Your selection should be data-driven, based on the specific risks you identified in your facility audit. Match the barrier to the vehicle by consulting the product’s technical parameters and certified impact rating. For protecting pedestrian walkways, a multi-rail pedestrian barrier is essential. For a single, critical asset like a structural column, a focused bollard provides concentrated resistance. By starting with a precise risk assessment, you ensure you are deploying the right solution to the right place.
Step 2: Pre-Installation Site Preparation
Proper preparation is key to an efficient installation. Before the team arrives, confirm the floor integrity, ensuring the installation area is a solid, level concrete slab. Mark the precise locations for each base plate on the floor and clear the zone of any obstructions. This allows the team to work safely and efficiently, minimizing the project’s total time.
Step 3: The Professional Installation Process
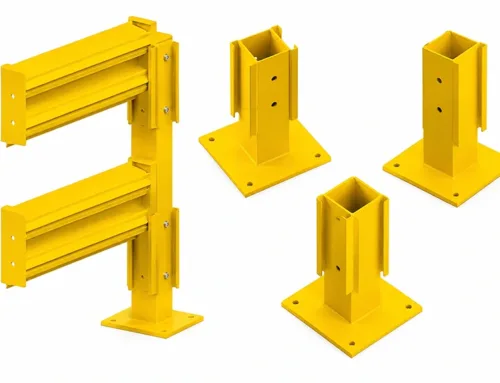
While the system is designed for straightforward assembly, the quality of the anchoring is critical. A professional installation ensures every component of your flexible safety barriers performs as engineered. This involves precise drilling, cleaning, assembly, and anchoring. Every anchor nut is tightened to the manufacturer’s exact specification to ensure the base plate is perfectly secured to handle the immense forces of an impact.
Step 4: Team Communication & Training
The hardware is installed, but the project isn’t finished. The final step is communicating the change to your team. Hold a brief “toolbox talk” to explain the purpose of the new barriers. Frame it as a direct investment in their personal safety. When your team understands the system is there to protect them, they become advocates for the new safety culture.
Step 5: Post-Installation Review & Adaptation
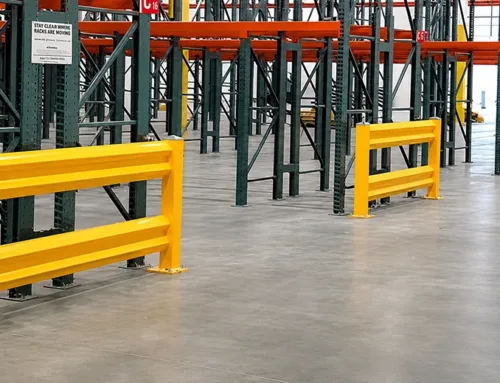
Your facility is a dynamic environment, and your safety system should be, too. After 30 days, walk the floor and observe traffic patterns to ensure the new layout is working as intended. As part of your regular safety audit, visually inspect the barrier system. One of the greatest advantages of a modular system of flexible safety barriers is its adaptability. If your operational layout changes, you can easily reconfigure, add, or relocate sections to meet your new needs.