JA
JA  EN
EN  DE
DE  RU
RU  PT
PT  ES
ES  IT
IT 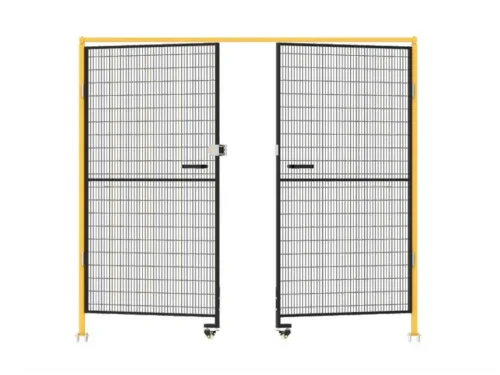

|
Struggling with hot work permits, welding fumes, and installation delays that threaten your project’s commissioning date? The traditional approach to building a ロボット安全フェンス cell is slow, inflexible, and often fails the final EHS audit. It’s time to stop fabricating and start assembling. |
The #1 Industrial Installation Tip: Ditch the Welder, Embrace Cold Assembly
For any System Integrator or Automation Project Manager, time is the most critical resource. The biggest unmanaged variable in deploying a new robot cell is often the on-site fabrication of the safety guarding. The process is a project manager’s nightmare: applying for hot work permits, scheduling fire watches, shutting down adjacent production lines, and dealing with the inevitable quality issues of manual welding and painting. This traditional method isn’t just slow; it turns your safety guarding into a one-time, disposable expense. When the line is retooled in two years, that entire welded structure goes to the scrap heap.
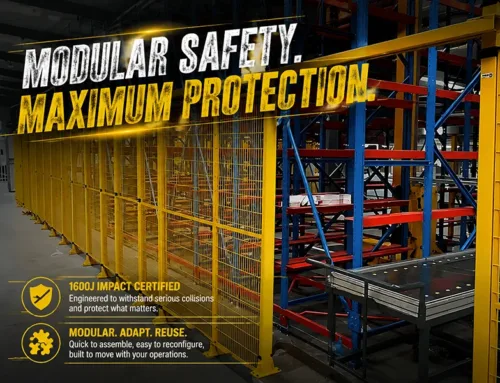
The most impactful installation tip is a strategic one: shift from on-site, hot-work fabrication to a cold-assembly modular system. Mdfence is engineered around this principle. Every component—from the robust Q235 carbon steel posts to the fully-welded framed mesh panels—is designed to connect with high-strength bolts. This transforms the installation from a specialized, hazardous job into a straightforward mechanical assembly that can be completed with basic hand tools, drastically reducing installation time and project risk.

From CAD Blueprint to Physical Barrier: A Step-by-Step Guide to Rapid Deployment
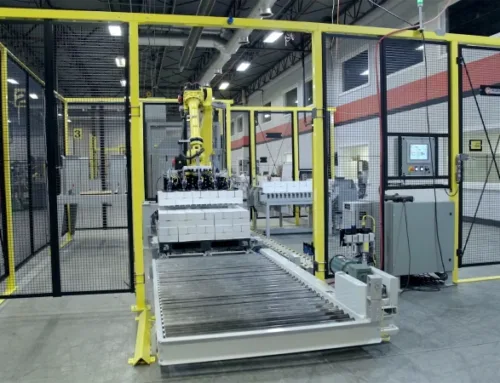
A successful installation is built on precision and efficiency. A modular 機械防護 system allows you to translate your digital design into a physical reality with predictable speed and accuracy.
Tip 1: Anchor Your Foundation with Precision
Your entire system’s stability starts at the floor. Begin by precisely marking the post locations according to your CAD layout. Each 60x60mm steel post is anchored to the concrete floor using four M10x70mm expansion bolts. This robust anchoring system ensures the structure can withstand the certified 1600 Joule impact forces, preventing catastrophic failure in the event of a vehicle collision or ejected workpiece. Once anchored, use the two-piece plastic post base covers to conceal the bolts, preventing trip hazards and simplifying floor cleaning.

Tip 2: Build the Perimeter, Panel by Panel
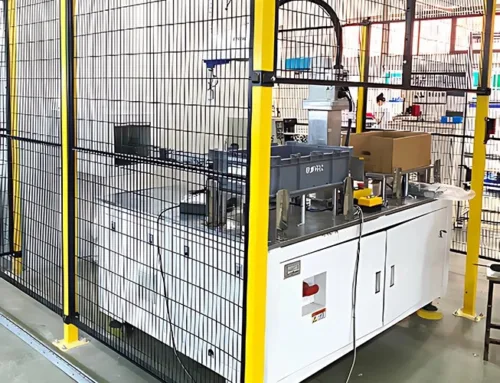
With the posts securely in place, building the perimeter is a simple, repeatable process. Start by attaching the lower fixing rings to each post. Next, seat a standard带框网板 (Framed Panel) into the rings. The 20x30mm steel tube frame gives the panel exceptional rigidity, preventing the sagging and warping common with cheaper, frameless mesh. Finally, slide the upper fixing rings down the post to lock the panel in place and tighten the M8 bolts. This entire process requires no welding, no grinding, and no painting—just a wrench.

Integrating Access and Safety Logic: The Critical Final Steps
A safety fence is more than a barrier; it’s an active component of your machine’s safety circuit. The final installation steps are about integrating access points and safety devices in a way that is reliable, compliant, and built to last.
Tip 3: Install Doors That Don’t Compromise Your Safety Circuit
A sagging door is a primary cause of nuisance trips and safety circuit failures. Over time, misalignment can prevent the safety interlock from engaging correctly, leading to costly downtime. When installing a hinged door, always use the top door frame beam. This component connects the two posts flanking the door, ensuring they remain perfectly parallel and preventing the door from sagging under its own weight. This structural integrity is essential for the long-term reliability of your access points.

Tip 4: Use Pre-Engineered Mounts for Flawless Interlock Integration
Never drill into a powder-coated post to mount a safety switch. This compromises the anti-corrosion layer, leading to rust, and rarely provides a secure, precise mounting surface. The professional approach is to use a pre-engineered lock carrier. Mdfence provides dedicated mounting plates for industry-standard interlocks like the Omron D4NL or Pizzato series. These carriers bolt directly to the post and door frame, providing a perfect fit and ensuring your safety interlock functions exactly as designed, every time. This attention to detail is what separates a professional, auditable installation from a makeshift one.

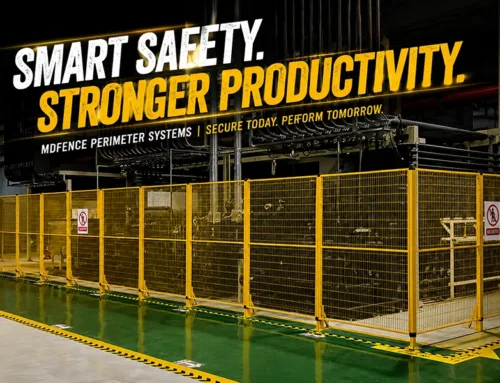
By following these installation tips—centered on a modular, cold-assembly system—you transform 安全フェンス工業 installation from a project bottleneck into a streamlined, predictable process. You’ll complete your projects faster, pass EHS audits with ease, and provide your clients with a durable, flexible safety asset that can adapt to their future needs.
よくある質問
1. How long does it take to install a typical 10m x 10m robot cell fence with one door?
Using the Mdfence modular system, two technicians can typically complete such an installation in a single 8-hour shift. A comparable welded solution could take 2-3 days, including time for hot work permits, welding, grinding, and painting.
2. Can your system integrate with our client’s specified safety switches, like Schmersal or Pilz?
Absolutely. We offer a range of pre-engineered mounting plates, or “Safety Interlock Carriers,” designed for seamless integration with all major safety device brands. This eliminates the need for on-site drilling and fabrication, ensuring a clean and compliant installation.
3. What happens if the production layout changes next year and the cell needs to be moved or resized?
This is a core advantage of a modular system. The entire fence can be unbolted, reconfigured, and reassembled in the new location. The asset is 100% reusable, offering a significantly lower total cost of ownership compared to a welded fence, which would have to be scrapped.
4. What information do you need from us to get a quote and a layout drawing for our project?
The ideal starting point is a CAD file (like .dwg or .step) of your floor plan showing the machine layout and required access points. If you only have a hand sketch with dimensions, our experts can work with that to create a professional layout and a precise Bill of Materials (BOM) for your project.
5. How does the 20x100mm mesh size benefit my installation and facility layout?
The narrow 20mm opening is “finger-safe” according to the ISO 13857 standard. This allows the safety fence to be installed as close as 120mm to the hazard. Systems with larger 50x50mm mesh may require a safety distance of 850mm or more. This difference can save several square meters of valuable floor space per robot cell, allowing for more efficient layouts and wider forklift aisles.