PT
PT  EN
EN  DE
DE  RU
RU  JA
JA  ES
ES  IT
IT 
Step onto any busy warehouse floor, and you’re entering a zone of organized chaos. Forklifts hum along designated paths, team members move between workstations, and pallets are in constant motion. As a manager, your job is to ensure this complex dance runs smoothly and safely. Without a clear, enforced system, you’re relying on hope and vigilance alone to prevent disaster.
The most effective way to bring order to this chaos is through a professional methodology known as Safety Zoning. This isn’t just about painting lines on the floor. It’s a strategic approach to analyzing your space, understanding your risks, and creating a physically protected environment where everyone can work with confidence.
Step 1: The Traffic Flow Audit (Map Your Arteries)
You cannot control what you cannot see. The first step is to make the invisible patterns of movement visible. Grab a floor plan of your facility and spend time observing the natural flow of traffic during a busy period. Don’t rely on how you think it should work; map out how it actually works.
- Red Marker: Trace the primary routes of forklifts and other heavy vehicles. These are your “Red Routes”—the high-risk arteries.
- Green Marker: Trace the most common paths people take on foot. These are your “Green Routes.”
- Amber Marker: Circle the areas where Red and Green Routes intersect or run closely parallel. These “Amber Zones” are your highest-risk hotspots.
Step 2: The Hazard Identification (Pinpoint Your Vulnerabilities)
With your traffic map in hand, walk the floor again. This time, your goal is to pinpoint the critical assets and specific hazards that lie along these routes. Mark them on your map. Look for blind corners, critical infrastructure like load-bearing columns and electrical panels, high-value machinery, and pedestrian congestion points.
Step 3: The Protection Level Matrix (Choose Your Armor)
Now that you know where your risks are, you can define the appropriate level of protection. The goal is to match the solution to the specific risk. This is where you move from simple lines to engineered controls like flexible safety barriers.
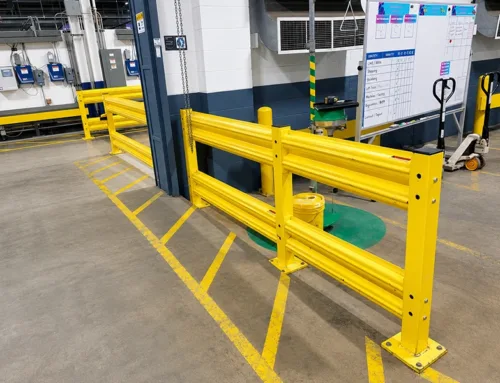
- IF you have pedestrian “Green Routes” running alongside vehicle “Red Routes,” THEN the only acceptable solution is mandatory physical separation with a dedicated pedestrian safety guardrail system.
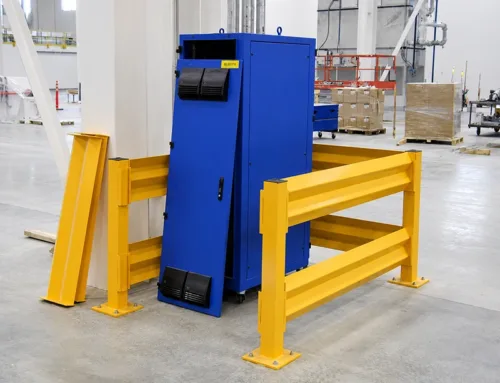
- IF you have identified a critical asset like a structural column at a high-risk “Amber Zone,” THEN the solution must be high-impact protection, such as installing bollards or specialized column guardrails.
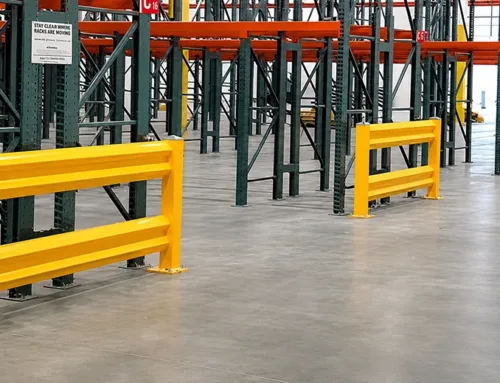
- IF your pallet racking is vulnerable to low-level damage, THEN the solution is to install floor-level guardrails.
Step 4: Implementation and Review (Bring Your Plan to Life)
With your plan mapped out, you can now act strategically. Start by implementing solutions like flexible safety barriers in the highest-risk “Amber Zones.” Communicate the new zoning plan to your team, explaining the “why” behind it. Finally, since a facility is not static, review your Safety Zone map quarterly or semi-annually to ensure it still reflects the reality of your operations.
By following this framework, you move from reactive problem-fixing to proactive risk management. Safety Zoning isn’t about adding restrictions; it’s about removing ambiguity. It gives everyone the clarity and confidence to work safely and efficiently.