JA
 EN
 DE
 RU
 PT
 ES
 IT
Temporary site tool lockup
1つのケージ、3つの現場:段階的なプログラムによるモジュール式ワイヤーメッシュ収納ケージの再配置
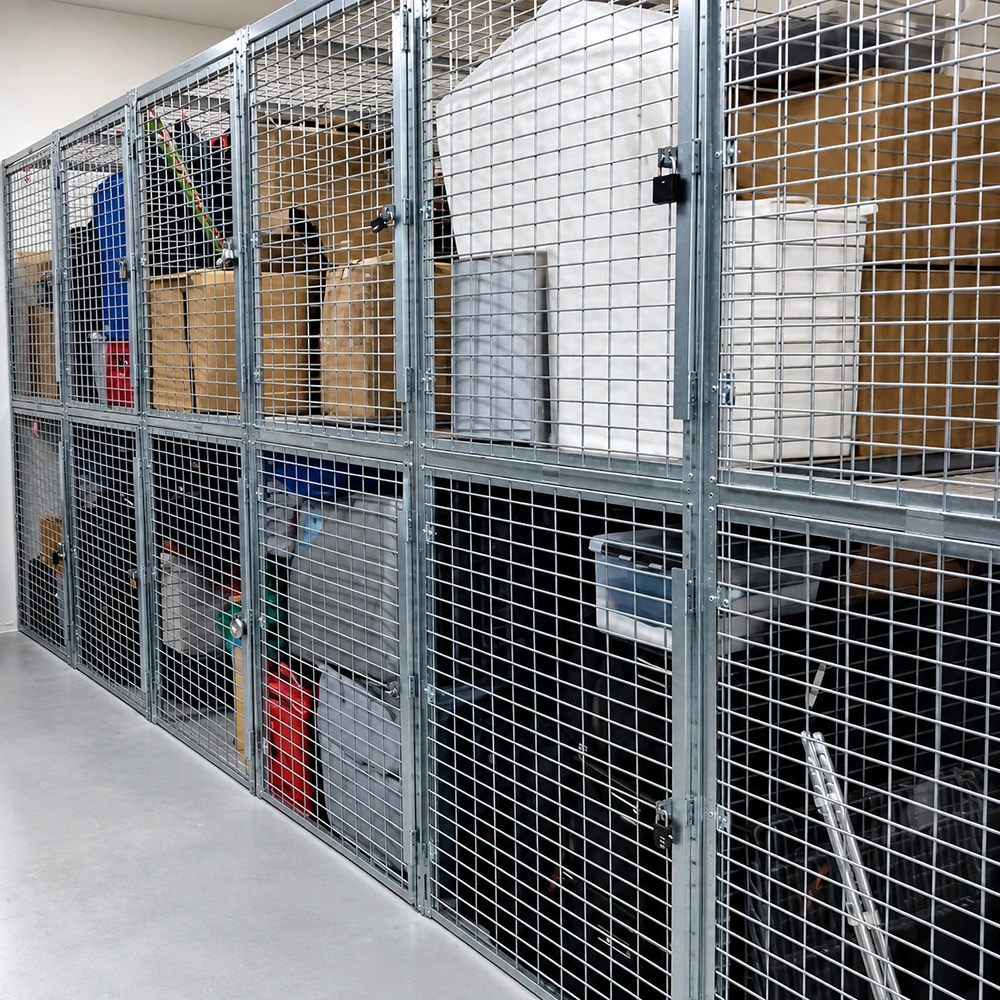
A twelve-month programme needs a lockable tool room for twelve months, and the next site needs it again six weeks later. A modular wire mesh storage cage is bought as parts — galvanised steel welded mesh panels, steel posts, hinged mesh doors, base plinths and shelves — bolted together with 90-degree angle screws and back-to-back through-bolts, anchored with expansion bolts once the run is squared. Two people, a hand drill and a wrench: no welding, no wet trades, no fit-out to write off when the crew loads out, and the same cage standing on the next slab instead of a new one being bought.
What Actually Travels Between Sites
Demobilisation is where most temporary storage decisions are lost. A blockwork room, a stud-and-board enclosure or a welded frame is priced once and then abandoned in place, because taking it down costs more than leaving it. The point of a bolt-together storage cage is that the parts survive the move — so the buying question is not what the cage costs on site one, it is which components come back on the truck and which are consumable. This is the list we work from when a contractor is planning a rolling programme rather than a single fit-out.
| コンポーネント | What happens at load-out |
|---|---|
| Galvanised steel welded mesh panels | Unscrewed from the posts and stacked flat on a pallet. The galvanised finish needs no repaint and no drying time before the panels go up on the next slab. |
| Steel posts and 90-degree angle screws | Reused. Screws are counted per post at load-out, because a missing bag of fixings is what stalls the second erection, not a missing panel. |
| Hinged mesh door with hasp | Lifts off its hinges. One door leaf per bay, counted against the bay schedule so the second site does not open with three bays and two doors. |
| Top mesh panel | Fitted only where a run stops below the pipework or the slab. It travels with the cage, not with the building, and it is left off where the next ceiling is higher. |
| Base plinth and shelves | Move with the panels. The shelf spacing is the tool room’s index — torque wrench on the second level, consumables below — and that layout is worth keeping. |
| Expansion bolts | The only true consumable: new bolts at each slab, old holes abandoned. Nothing is drilled until the run is squared and the door swing is checked. |
| Lock or access reader | A padlock stays with the keyholder. A card reader is re-terminated at the next site by your own electrician; the cage itself does not change. |
Three Details That Decide Whether It Comes Down Cleanly
Bolted, not built in
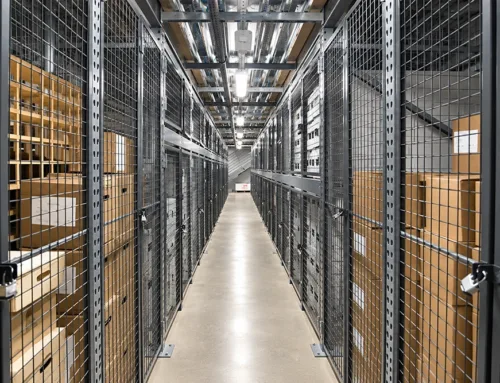
The cage is a bolted assembly, not a welded frame. Panels go to posts on 90-degree angle screws, and two panels meeting in a line are drawn back to back with straight bolts and through-nuts, so the joint is a clamp rather than a weld. That matters twice on a temporary project: it removes the hot work permit and the fire watch from a site that already has enough of both, and it means the joint can be undone with the same wrench that made it. Long runs carry diagonal bracing on the end bays — the X-brace in the photo is what stops a free standing storage cage from racking when a telehandler clips the end panel. Two people, a hand drill and a wrench are the whole installation crew.
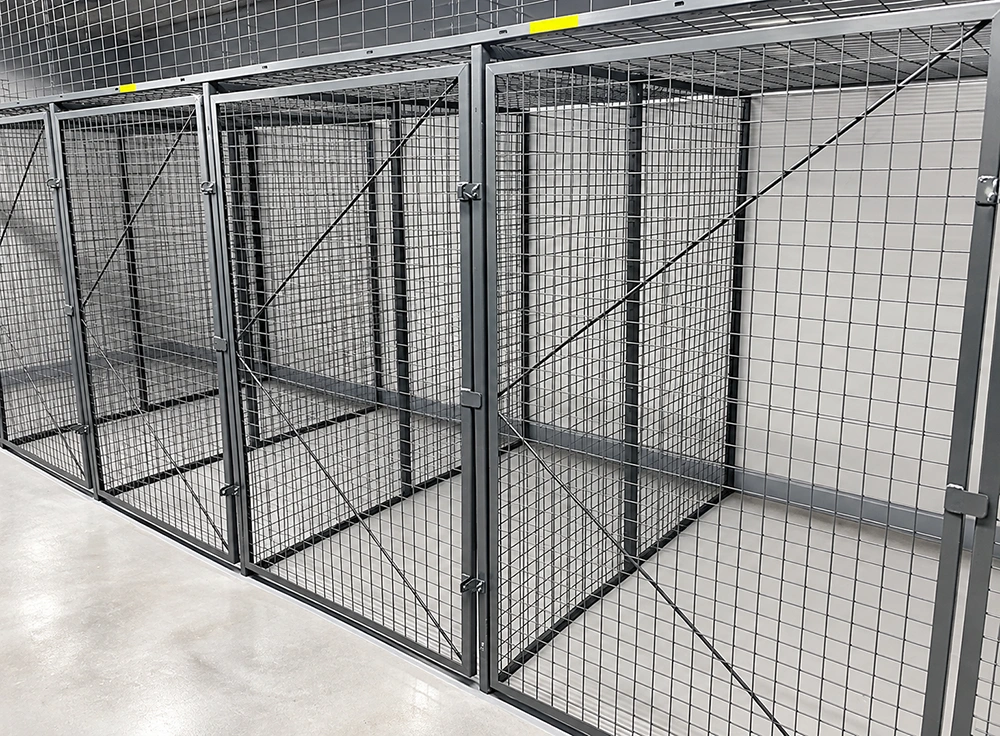
A layout you re-draw on an unfamiliar slab
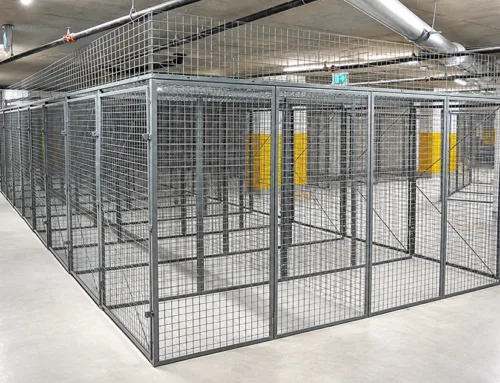
The second site is never the same shape as the first. Because the bay is a count of panels and posts rather than a fixed room, the tool crib cage is re-laid to the new aisle: bay widths, widened and deepened bays for the long brooms and the welding set, and a doorway per bay where the crew actually walks. Expansion bolts are driven after the run is squared, not into a drawn setting-out line, so posts follow the slab you have. Where the run stops short of the ceiling, a top mesh panel closes the cage without touching the services above — which is also what keeps the store visible from the aisle and lets the sprinkler spray reach the goods beneath.
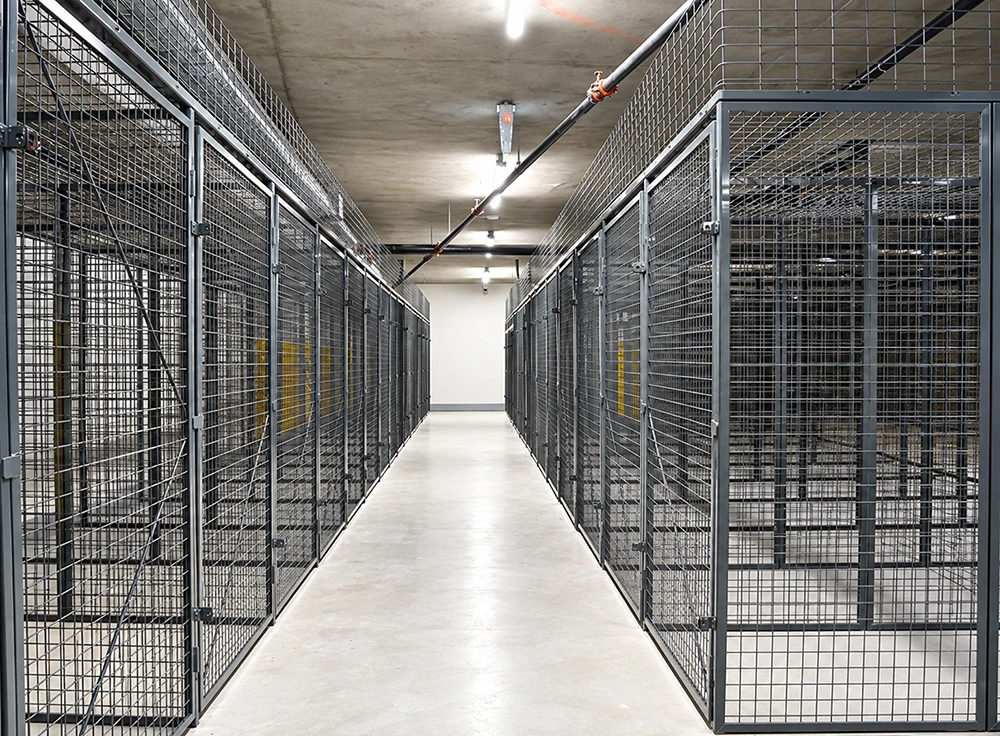
The door, the lock and the tag leave with the panels
One hinged mesh door per bay, wide enough for the tool bag and the gas bottle trolley, with a hasp on the door bar for a padlock and a scribed lock position so the hasp lines up the same way on every bay. On a programme, the door bar is also the place to put the asset tag or the padlock number, and that number is what the storeman’s register is written against. At demobilisation the doors come off their hinges and are counted one for one against the bay schedule — a lockable storage cage is only reusable if the locking hardware comes home with it.
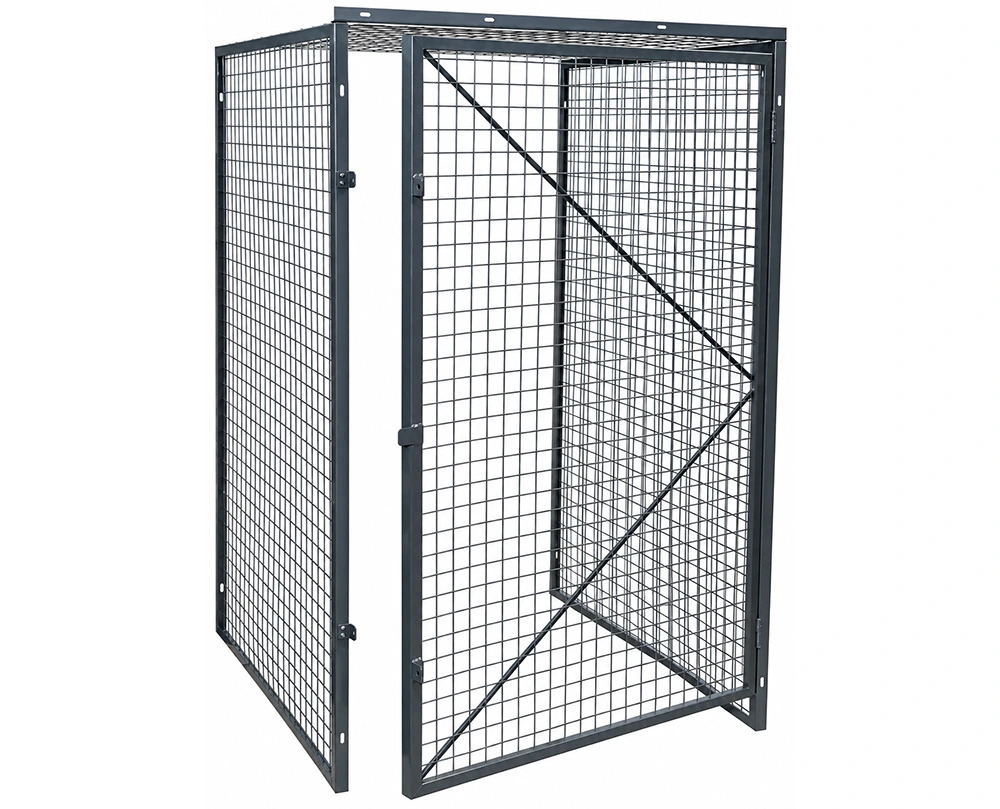
Where a Demountable Tool Lockup Earns Its Keep
- Site tool room on a fixed-term build, where the lockup has to be gone by practical completion.
- Tool crib cage inside a plant shutdown or turnaround, erected in a weekend and removed before start-up.
- Industrial tool storage cage on a yard that is re-planned every phase of the programme.
- Equipment storage cage for hire fleets and survey kit that moves with the crew between projects.
- Walk-in storage cage at a laydown area, sized to the machines that have to be locked overnight.
In each of these the value is the same: the boundary is an asset the contractor owns and carries, not a fixture left behind in someone else’s building. That is the difference between a space saving storage cage and a room you have to demolish.
Get the Bay Schedule and Erection Drawing
Send us the site plan, the tools that have to be locked and the aisle you have to keep clear. We will come back with a bay-by-bay panel and post schedule, door and ceiling-panel positions, the fixing count for the slab, and a marked-up drawing your own crew can erect from on site two as easily as on site one.
Plan the lockup once, stand it up three times
Tell us the programme length and the number of sites it covers. We will size the cage so the same parts do the whole run.
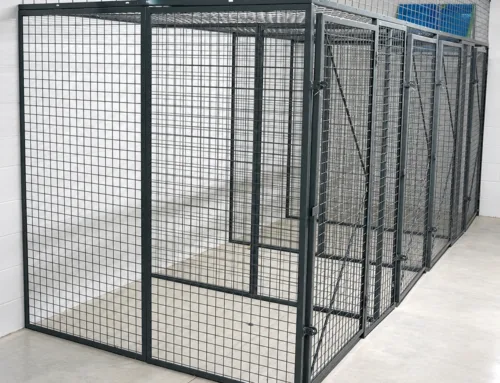
![特注構築なしで"]':Xl:在庫パネルから設定するワイヤーメッシュ保管ケージ](https://safetyfencesystems.com/wp-content/uploads/2026/10/wecom_media_1792552053679_2728780_1_2_kaobei-500x383.webp)