JA
JA  EN
EN  DE
DE  RU
RU  PT
PT  ES
ES  IT
IT 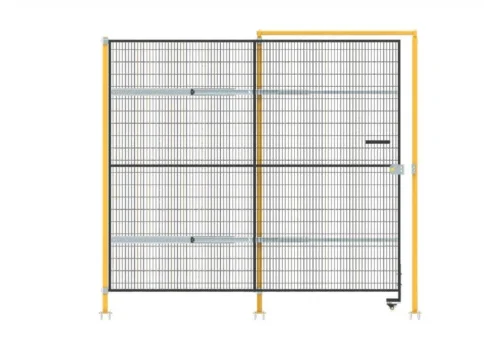

|
Struggling with misaligned panels and sagging doors in your robotics layout? In high-speed automotive assembly, a perimeter that is off by just a quarter-inch (6mm) can cause safety interlock pins to miss their mark, triggering nuisance Safety Torque Off (STO) faults and tanking your OEE. Discover the cold-assembly alignment method that guarantees a perfect fit for PLC integration on the first try. |
The Before: Why Traditional Fencing Sabotages Robotics Integration
For system integrators deploying turnkey solutions in automotive welding stations or CNC machining centers, perimeter alignment is a critical path item. Historically, deploying frameless wire mesh meant relying on hot work. Installers would measure by eye, drill into posts on-site, and weld brackets directly to the floor plates.
The result? The uneven polished concrete of a typical plant floor causes the posts to lean. When a 100 lbs (45 kg) hinged door sags over a 6-foot (1.83m) span, the Omron D4NL or Pizzato safety switch physically misaligns with its actuator key. Every time a forklift rumbles by, the vibration causes the misaligned switch to chatter, sending false “door open” signals to the PLC and instantly halting the Fanuc robot. This specific misalignment is the root cause of countless hours of lost production and inflated MTTR (Mean Time To Repair).
Step-by-Step: How to Align 工業用安全フェンス for Zero-Fault Commissioning
Modern automated production lines demand a modular, cold-assembly approach. Here is the engineering logic behind aligning a high-impact Q235 carbon steel system to pass ISO 13857 and ISO 14120 audits without a single nuisance trip.
Step 1: Anchoring and Squaring the Posts
Alignment begins at the floor. Instead of welding, utilize the lateral “ear” base plates of the 60x60mm Q235 steel posts. Using a laser level to establish your perimeter line, drill your 14mm holes and drop in the M10x70mm expansion bolts. Do not fully torque the bolts until the adjacent panels are clipped in. This allows micro-adjustments to compensate for concrete undulations, ensuring the post remains perfectly plumb.

Step 2: Utilizing Framed Panels for Out-of-Plane Stiffness
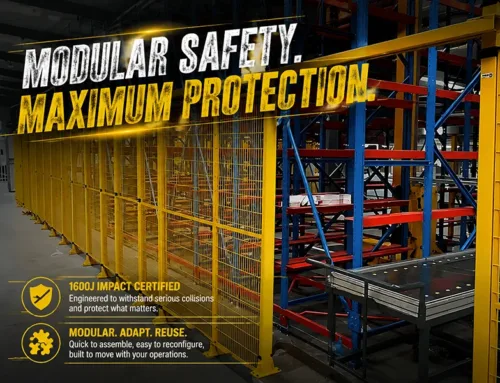
Once the posts are loosely anchored, install the lower fixing rings. Unlike cheap “hammock” mesh that warps when a worker leans on it, insert the 20x30mm framed panels. The rigid tubular frame acts as a structural beam. When you slide the bottom frame into the upward-facing teeth of the fixing ring and clamp the top ring down, the panel forces the two posts into exact parallel alignment. This structural integrity is what guarantees the 1600 Joules impact rating—capable of stopping a 220 lbs (100 kg) workpiece ejected at 12 mph (20 km/h).

Step 3: Truing the Door Systems to Eliminate Sag
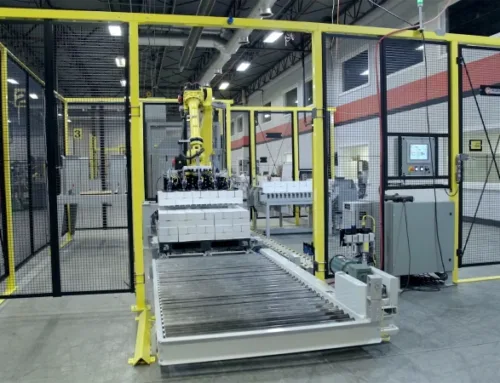
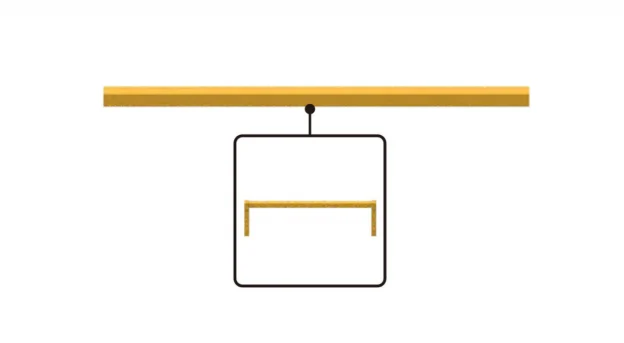
The most critical point of failure in any ロボット安全フェンス layout is the door. To prevent gravity from pulling the active post inward, you must install the top door frame beam. This cross-member locks the distance between the hinge post and the latch post.
The After: Flawless Interlock Integration and Rapid Commissioning
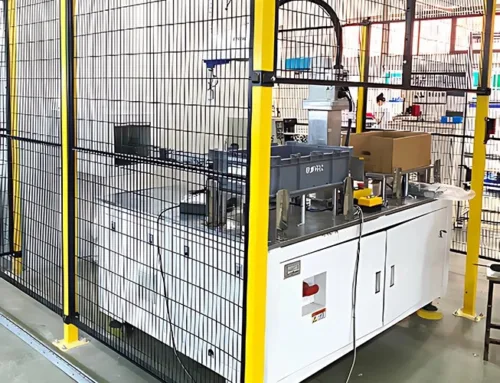
With the frame beam secured and the panel frames providing lateral rigidity, you can now install the hinges, casters, and safety switch carriers. Because the system is perfectly square, the pre-drilled safety interlock carriers (like the KKCK-LCK-B-D4NL-SET) will align the switch and key with sub-millimeter precision.

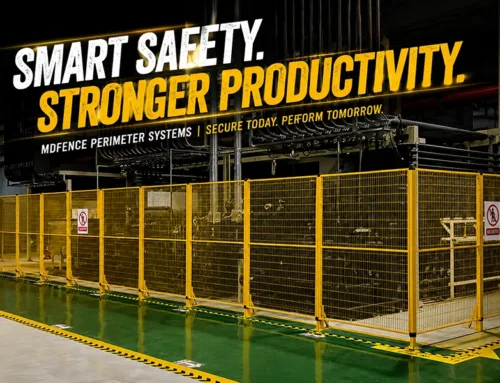
By following this modular alignment logic, system integrators can deploy 機械警備システム 40% faster than traditional welding. More importantly, the 20x100mm mesh allows the barrier to sit just 4.7 inches (120mm) from the hazard zone per ISO 13857. You save valuable floor space, eliminate nuisance STO faults, and deliver a turnkey automated cell that passes EHS audits on day one.
Frequently Asked Questions (FAQs)
| How do I handle floor unevenness when aligning the fence? | Do not fully tighten the M10x70mm expansion bolts immediately. Use the play in the base plate slots to shim the post or adjust the angle before locking down the adjacent framed panels to force the structure square. |
| Why do my safety interlocks keep tripping from vibration? | This is usually caused by door sag or “hammocking” of frameless mesh. Ensure you are using 20x30mm framed panels and that the top door frame beam is installed to keep the posts perfectly parallel under the weight of the door. |
| Can I align the fence closer to my CNC machine to save space? | Yes, if you use our 20x100mm mesh. Because it prevents fingers from reaching through, ISO 13857 allows this specific mesh to be installed as close as 4.7 inches (120mm) to the hazard, saving nearly 1 square meter per machine compared to 50x50mm mesh. |
| Do I need to drill holes on-site to mount Omron or Pizzato switches? | No. On-site drilling compromises the Q235 steel’s powder coating and invites rust. We provide pre-engineered lock carriers (e.g., KKCK-LCK-B-D4NL-SET) that bolt directly onto the modular system for perfect alignment. |
| How does alignment affect the 1600J impact rating? | Proper alignment ensures that kinetic energy from an impact is distributed evenly through the panel frames, into the fixing rings, down the posts, and into the concrete. Misaligned or loosely bolted systems create stress concentrations that can cause catastrophic failure during a forklift strike. |