EN
EN  DE
DE  RU
RU  PT
PT  JA
JA  ES
ES  IT
IT OSHA 1910.212 · ANSI B11.19 · ISO 14120
OSHA Walkthrough Preparation: Mefence Frameless 3D Safety Fence as the Hazard Zone Boundary
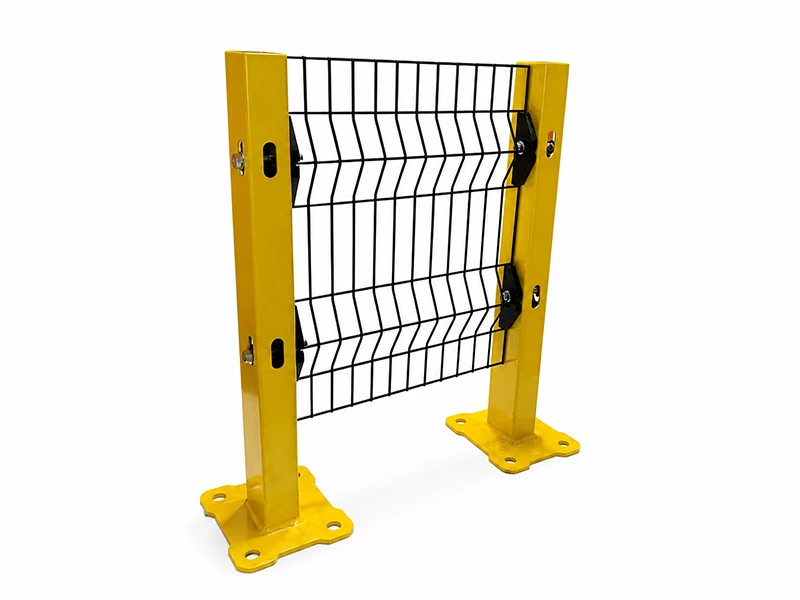
An OSHA walkthrough does not start with the paperwork on the EHS manager’s desk. It starts with the visible hazard zone boundary on the floor. A Mefence frameless 3D industrial safety fence turns that boundary into a photographable, traceable Q235 clip-fixed line – and stays in its lane, leaving an impact-rated Machine Fence to handle the strike points where impact is the hazard.
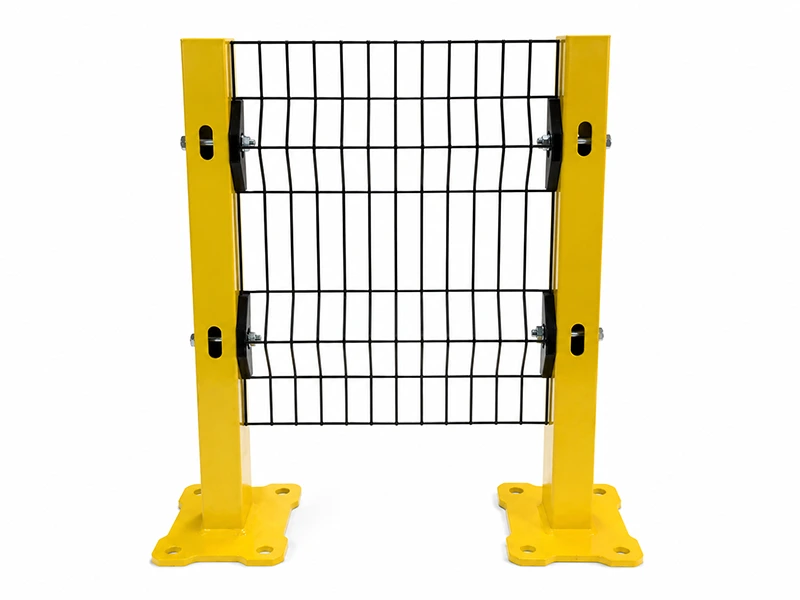
What the Boundary Looks Like on Paper
A Mefence boundary survives a walkthrough when the spec list matches what an inspector can see from the floor. The line below is what a regional OSHA inspector or corporate EHS auditor compares against the visible yellow boundary when the photo lands in the inspection notebook.
| Mefence Boundary Spec | What it gives the OSHA walkthrough |
|---|---|
| Q235 carbon steel post, 40×60 mm or 60×60 mm, powder coated yellow or custom color | Visible, traceable boundary in the warning color auditors recognize, with documented structural steel grade |
| Welded wire mesh, wire diameter 3 mm or 4 mm, mesh opening 50×50 mm or 20×100 mm | No climb footholds, no small-part passage, modular clipping into the post without field welding |
| Mesh panel width 200-1400 mm, mesh panel height 200-3000 mm | Fits a mezzanine drop-off, a robot cell perimeter, a conveyor run, or a full warehouse partition from the same stock |
| Plastic clip + self-tapping screw, expansion bolt + base plate post | Clip fixing with no on-site welding, leaving an audit-friendly assembly record on every panel |
| On-site cutting of panels to irregular workstation sizes | The boundary follows the actual hazard line on the plant floor, not a CAD ideal that leaves a foot-wide gap |
| Modular reconfigurable system, relocatable reusable fence | Boundary moves with the line and stays in the EHS file – not a sunk cost when the plant retools next quarter |
Three Things the Walkthrough Auditor Looks For First
Clip-Fixed Assembly Becomes Part of the Audit Notebook
The auditor’s first question on a walkthrough is usually “who put this up, when, and how”. A Mefence boundary is held by plastic clips and self-tapping screws into a slotted Q235 post – no on-site welding, no hot work permit, no anonymous welder sign-off to track down three years later. The 3-step clip-fixed assembly leaves a visible record on every panel: mesh into post, post into base plate, base plate into the slab. All bolted, all traceable, all photographable. When a regional OSHA inspector or a corporate EHS auditor walks past a yellow post, the slotted hole, the clip, and the bolt pattern become evidence that goes into the inspection notebook – not against it.
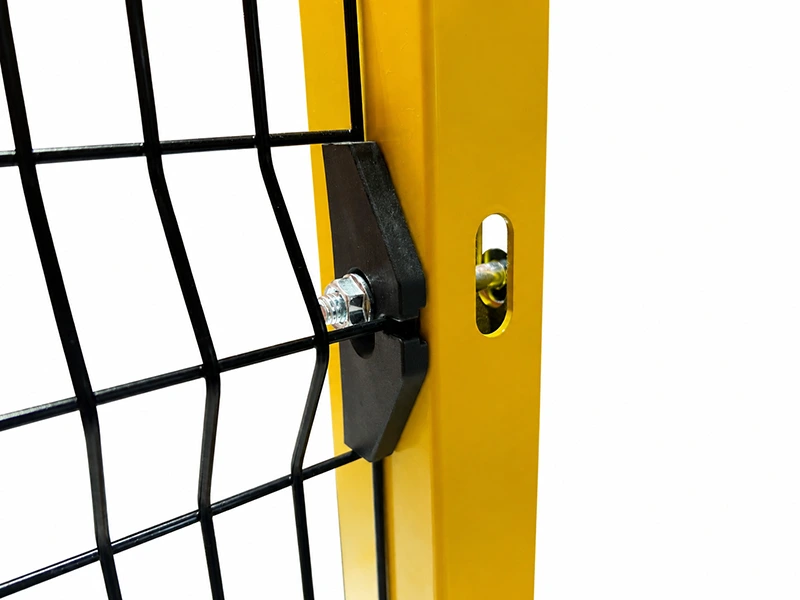
The Photographable Hazard Zone Boundary
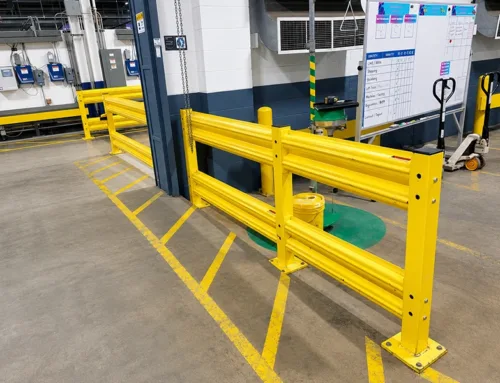
OSHA 1910.212(a)(2) and ANSI B11.19 both require one or more methods of machine guarding; ISO 14120 frames it as a “protective barrier”. A Mefence perimeter delivers the barrier method as a visible, photographable boundary: yellow powder-coated Q235 posts on a 2000-2400 mm center, welded wire mesh panels from 200 mm to 3000 mm tall, base plates bolted into the concrete floor. The auditor’s camera starts at the boundary because that is where the eye starts. When that boundary is intact, modular, and color-coded, the citation conversation moves from “is this guarding” to “how is this guarding maintained” – a much cheaper conversation for the EHS manager running the walkthrough.
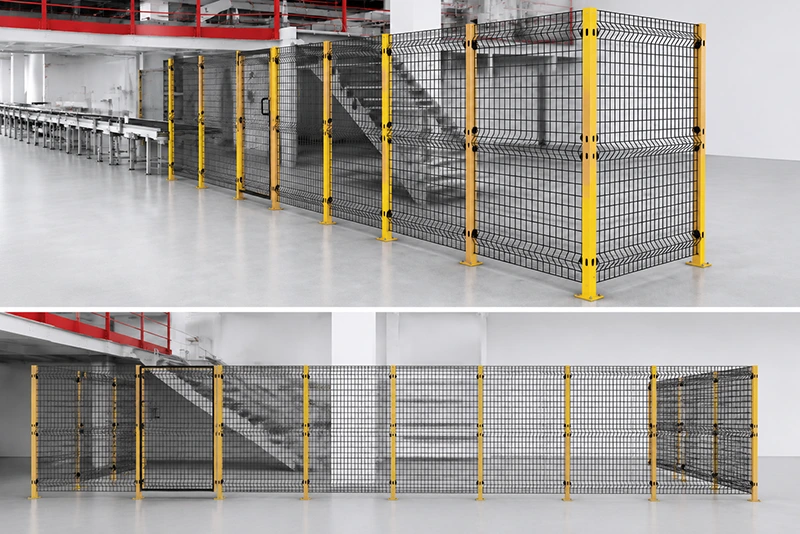
Boundary Engineering Leaves Floor-Anchor Evidence
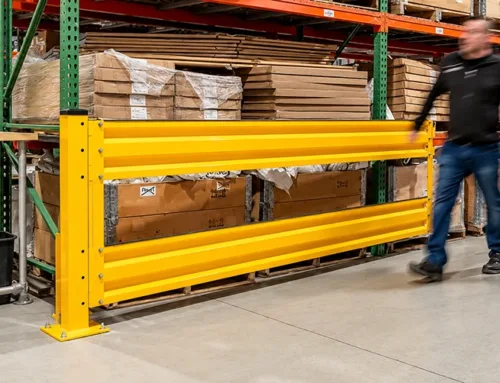
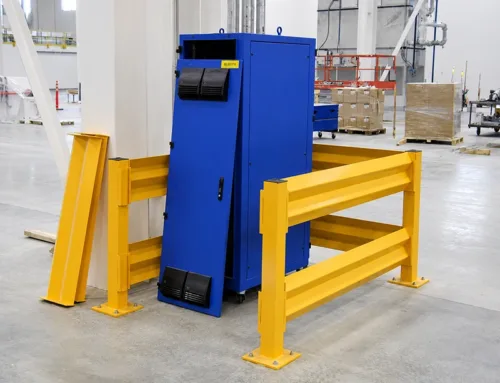
The cheapest way to fail a walkthrough is a barrier that looks improvised: zip-tied mesh, leaning panels, painter’s tape on the floor. A Mefence boundary leaves floor-anchor evidence – 4-bolt base plates with expansion bolts into the slab, slotted mounting holes for vertical alignment, and a Q235 post that cannot be tilted by a passing forklift or a tripped shift hand. The powder-coated finish keeps the inspector from writing “rust, repaint” notes for next quarter’s corrective-action list. This is the engineering boundary a regulated plant documents once and reuses across line changeovers, plant retools, and the next round of OSHA 1910.212 subpart O review.
Where Mefence Carries the Boundary on Walkthrough Day
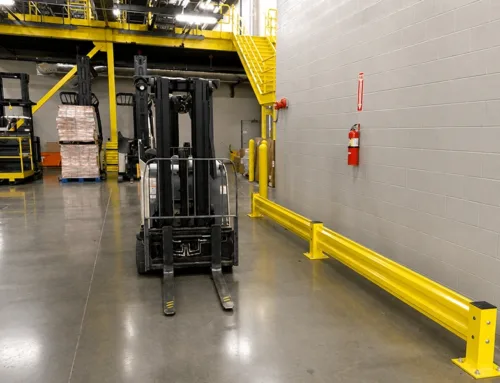
- Warehouse zoning in distribution centres, with pedestrian-vehicle separation along forklift lanes
- Robotic workstation enclosure perimeter on the non-strike side, plus CNC machine guarding where the hazard is reach, not impact
- Conveyor belt isolation along the run, including mezzanine drop-offs and stair openings
- Tool crib enclosure and material segregation zones in multi-customer EMS plants
- Construction site barrier and workshop isolation during line retools and capital projects
- AGV / AMR lane separation in fulfillment centres where LiDAR and machine vision need clear sightlines through the mesh
Use Mefence as the visible zoning layer where the hazard is reach, unauthorized access, or pedestrian-vehicle separation. Where the hazard is impact – robotic welding cells, mechanical and hydraulic presses, heavy-material transfer – the boundary belongs to an impact-rated Machine Fence. Spelling out both layers in the EHS file, with a different spec sheet for each, makes the compliance conversation clearer, not weaker.
OSHA Walkthrough Prep Checklist (Free)
A one-page prep sheet covering the seven visible boundary items a regional OSHA inspector photographs first, plus the audit-notebook fields the EHS manager should have ready before the visit: assembly record, post spacing, base plate torque, panel height versus hazard reach, custom color choice, last repaint date, and the line item that points to an impact-rated Machine Fence wherever impact is the actual hazard. No email required.
Build the Boundary Your Walkthrough Will Pass
Send your floor plan, the hazard zones you need zoned today, and the lines that move next quarter. We will return a Mefence boundary layout that survives the audit, plus an honest note on which zones belong to an impact-rated Machine Fence rather than a zoning layer.