EN
 DE
 RU
 PT
 JA
 ES
 IT

Safe and Effective Methods to Remove Warning Stickers from Car Windows

Warning stickers on car windows can be a nuisance and an eyesore, especially if they’ve been on the window for a while. While they serve a useful purpose, such as indicating that the vehicle is being monitored or that the driver has violated a parking regulation, they can leave an adhesive residue that is difficult to remove. In this article, we will discuss safe and effective methods to remove warning stickers from car windows.
Method 1: Using a Razor Blade or Plastic Scraper
One of the easiest ways to remove a warning sticker from a car window is to use a razor blade or a plastic scraper. However, it’s important to exercise caution when using these tools to avoid damaging the window or injuring yourself. To remove the sticker, follow these steps:
-
-
- Start by peeling off as much of the sticker as possible with your fingers.
- Using a razor blade or plastic scraper, gently scrape off the remaining sticker and adhesive residue.
- Use a cloth to wipe away any excess residue and clean the window with a glass cleaner.
-
Method 2: Using Heat
Another effective method to remove warning stickers from car windows is to use heat. This method is particularly useful if the sticker has been on the window for a long time or if it’s cold outside. To remove the sticker, follow these steps:
-
-
- Use a hair dryer or heat gun to warm up the sticker and adhesive for a few minutes.
- Once the sticker is warm, use a plastic scraper or credit card to peel off the sticker.
- If there is any remaining residue, apply a small amount of rubbing alcohol or vinegar to a cloth and gently rub the residue until it comes off.
- Wipe the window clean with a glass cleaner.
-
Method 3: Using Chemicals
If the above methods don’t work, you can use a commercial adhesive remover to remove the warning sticker from your car window. However, it’s important to read the instructions carefully and use the product in a well-ventilated area to avoid inhaling any fumes. To remove the sticker using chemicals, follow these steps:
-
-
- Apply the adhesive remover to the sticker and let it sit for a few minutes.
- Use a plastic scraper or credit card to peel off the sticker.
- If there is any remaining residue, apply a small amount of rubbing alcohol or vinegar to a cloth and gently rub the residue until it comes off.
- Wipe the window clean with a glass cleaner.
-
Precautions
When removing warning stickers from car windows, it’s important to exercise caution and take the necessary precautions to avoid damaging the window or injuring yourself. Here are some tips to keep in mind:
-
-
- Avoid using sharp tools or abrasive materials that can scratch or damage the window.
- Work in a well-lit area to ensure that you can see what you’re doing.
- Wear gloves and protective eyewear to avoid injuring yourself.
- If you’re using chemicals, make sure to read the instructions carefully and use the product in a well-ventilated area.
-
Conclusion
Removing warning stickers from car windows can be a tedious task, but it’s important to do it right to avoid damaging the window or leaving a residue. By following the safe and effective methods outlined in this article, you can remove warning stickers from your car window with ease. Whether you’re using a razor blade, heat, or chemicals, make sure to exercise caution and take the necessary precautions to ensure a smooth and successful
A Tool Crib Is Not a Standard Shape: Custom Wire Mesh Storage Cages Drawn to the Floor You Actually Have
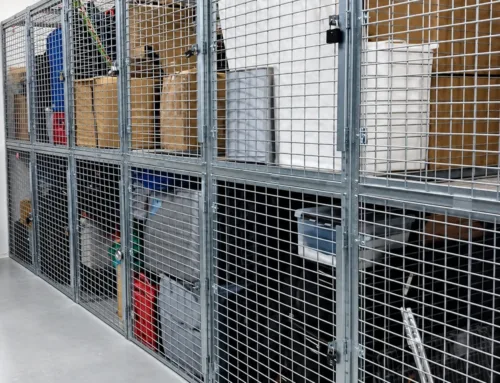
A catalogue tool crib assumes a rectangular room and a forklift arriving through the long side. Real spare parts stores have a column mid-bay, a rack depth set by the pallet that actually arrives and a two-and-a-half-metre wall beside a running machine. A custom wire mesh storage cage is specified from those numbers — bay height, widened and deepened bays, base plinths, shelves and mesh fill drawn per bay, one long-strip hinged mesh door per bay with its lock position scribed on the door bar, galvanised welded panels drawn back to back with straight bolts and through-nuts on 90-degree angle screws, expansion bolts after squaring. Two people, a hand drill and a wrench, no welder, no wet trades.
Top Mesh or Open Top: Sizing a Wire Mesh Storage Cage Around Sprinkler Deflectors and Air Paths
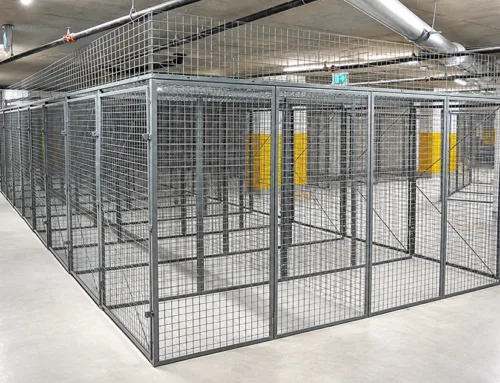
Solid partitions close two paths a storage room depends on: the air path that keeps a basement dry, and the spray path from the sprinkler deflector above the goods. A wire mesh storage cage keeps the lock and gives up the surface — galvanised welded mesh panels bolted to steel posts with 90-degree angle screws, one hinged mesh door per bay with its lock position scribed on the door bar, and a top mesh panel on a top rail only where the run stops below the sprinkler piping. Two people, a hand drill and a wrench, no welding under a live line.
A Tool Room That Dismantles: Bolt-Together Wire Mesh Storage Cages for Temporary Site Tool Lockup
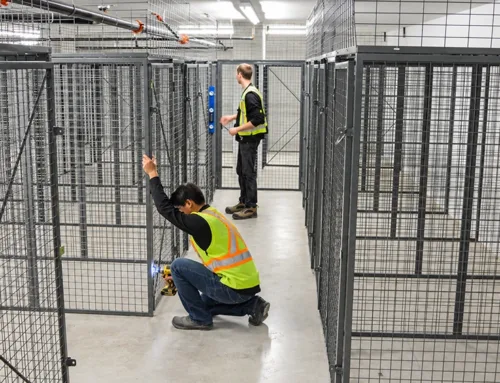
A temporary project needs a lockable tool room for the length of the programme and not a day longer. A bolt-together wire mesh storage cage goes up from parts — galvanised welded mesh panels bolted to steel posts with 90-degree angle screws, panels drawn back to back with straight bolts and through-nuts, one long-strip hinged mesh door per bay with its lock position scribed on the door bar, and expansion bolts driven after the run is squared. Two people, a hand drill and a wrench, no welding and no wet trades, and the same parts leave on the truck to the next site.